What Is the Fastest Way to Drain a Flooded Yard?
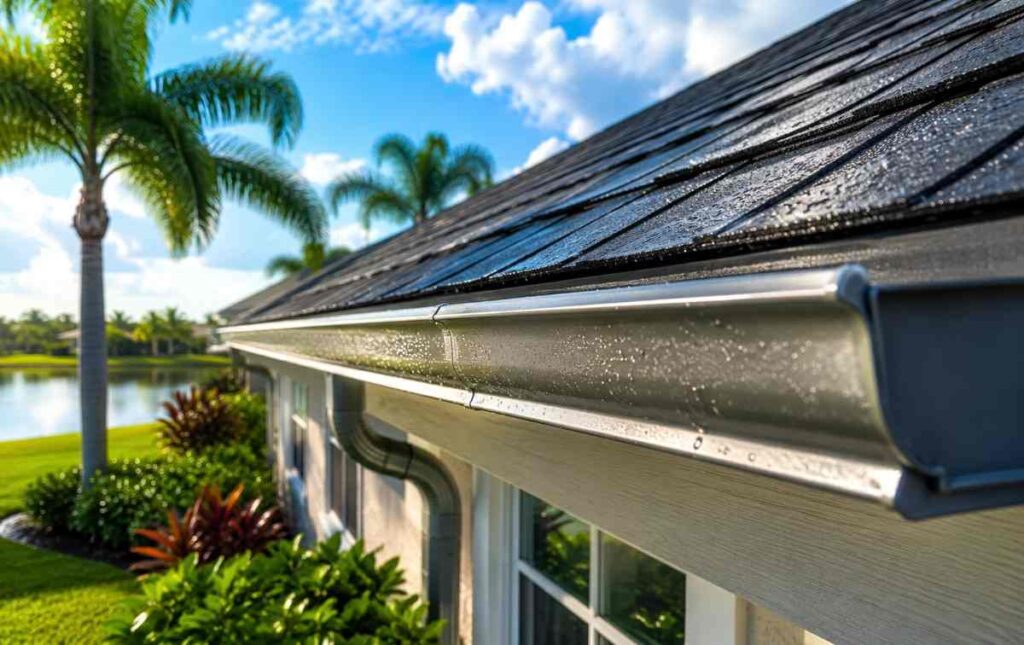
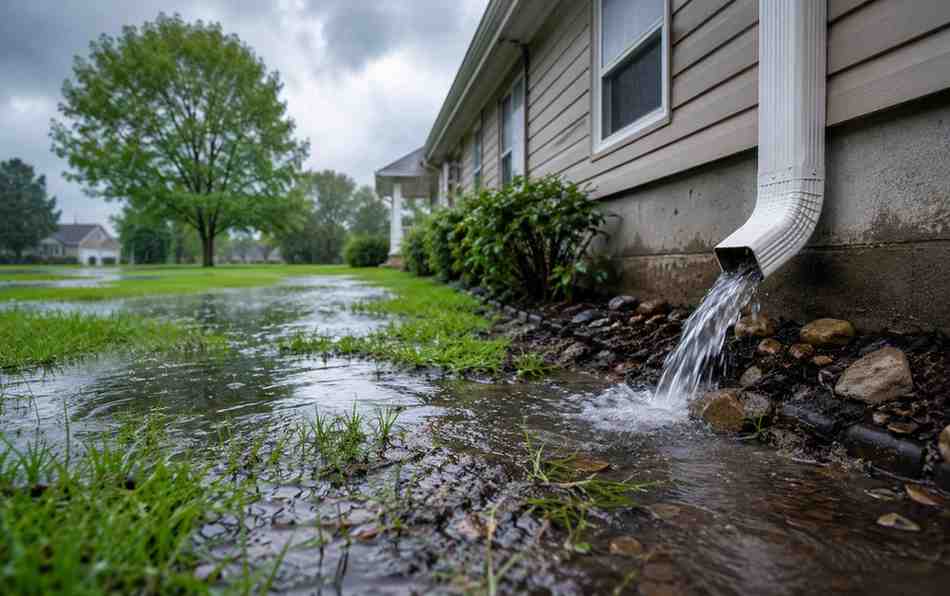
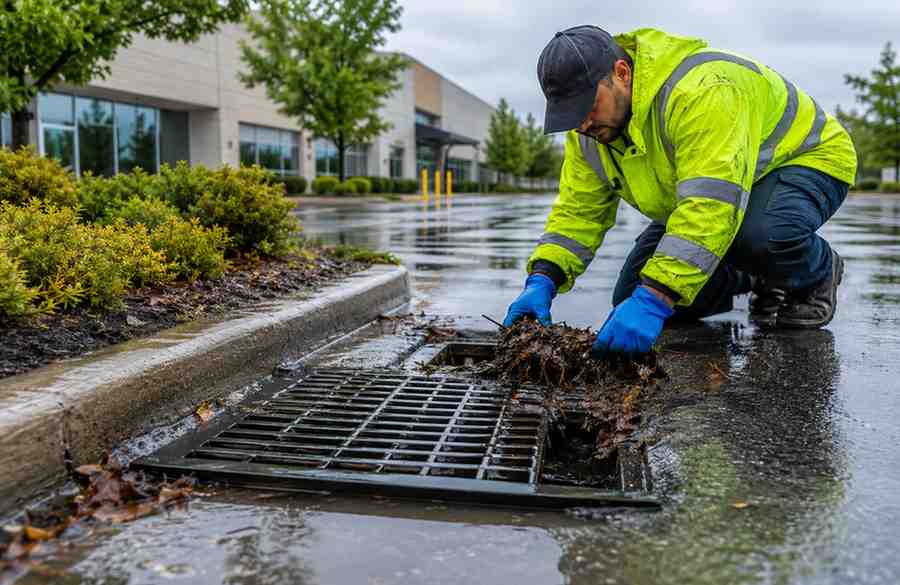
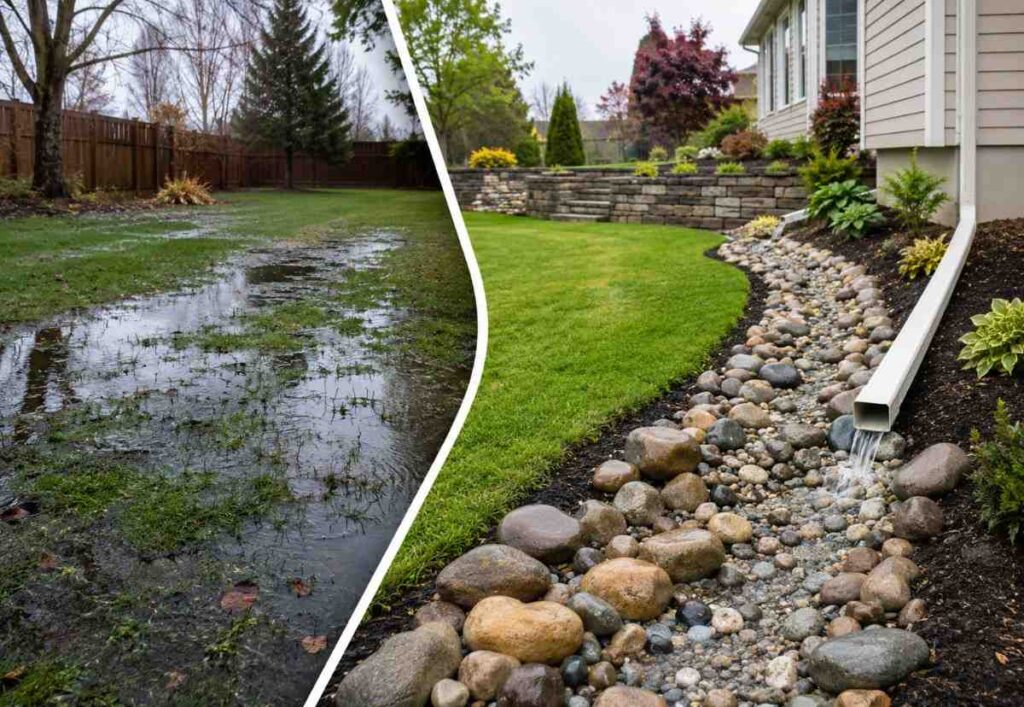
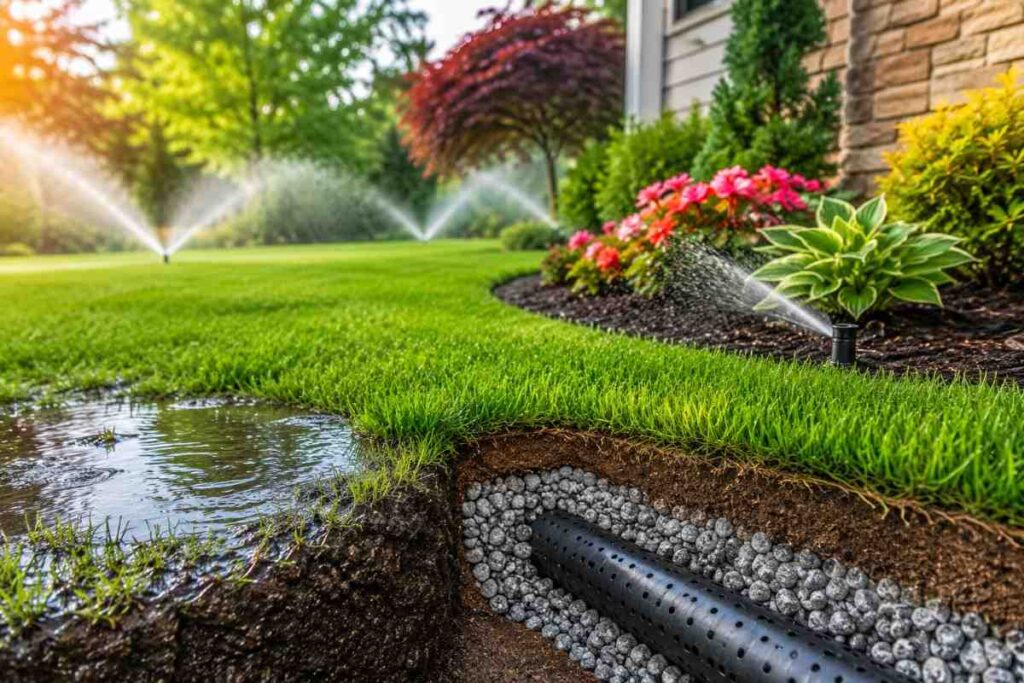
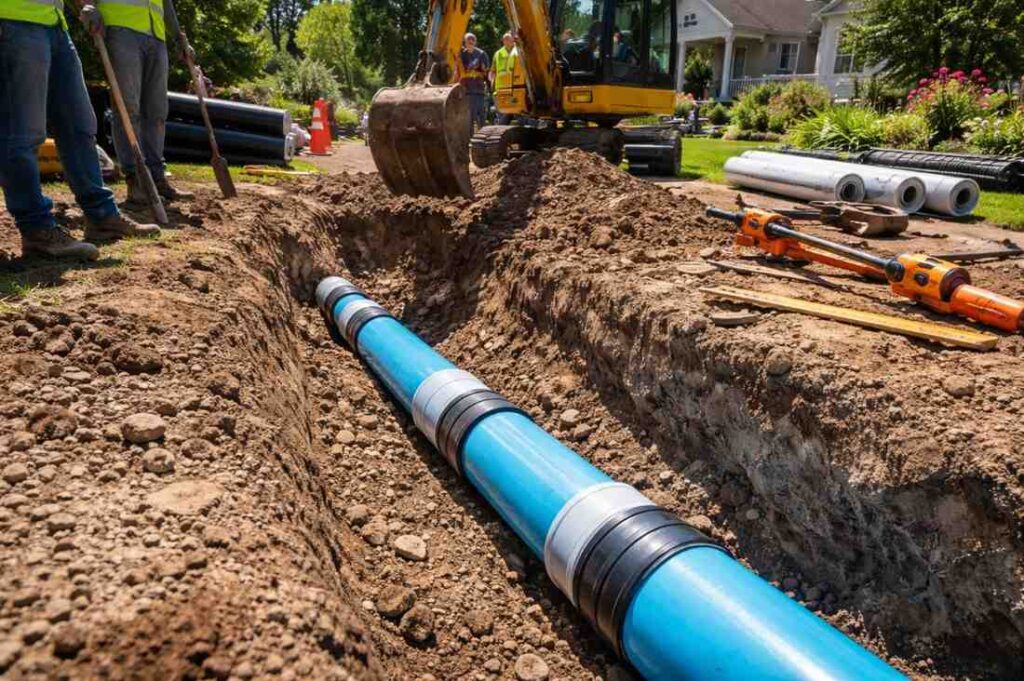
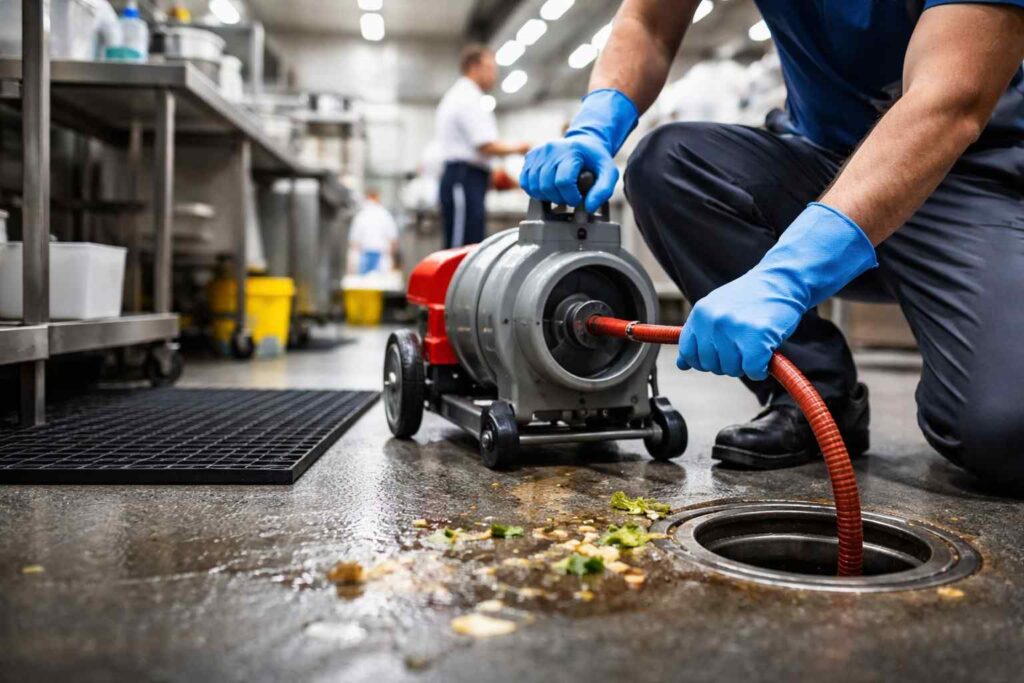
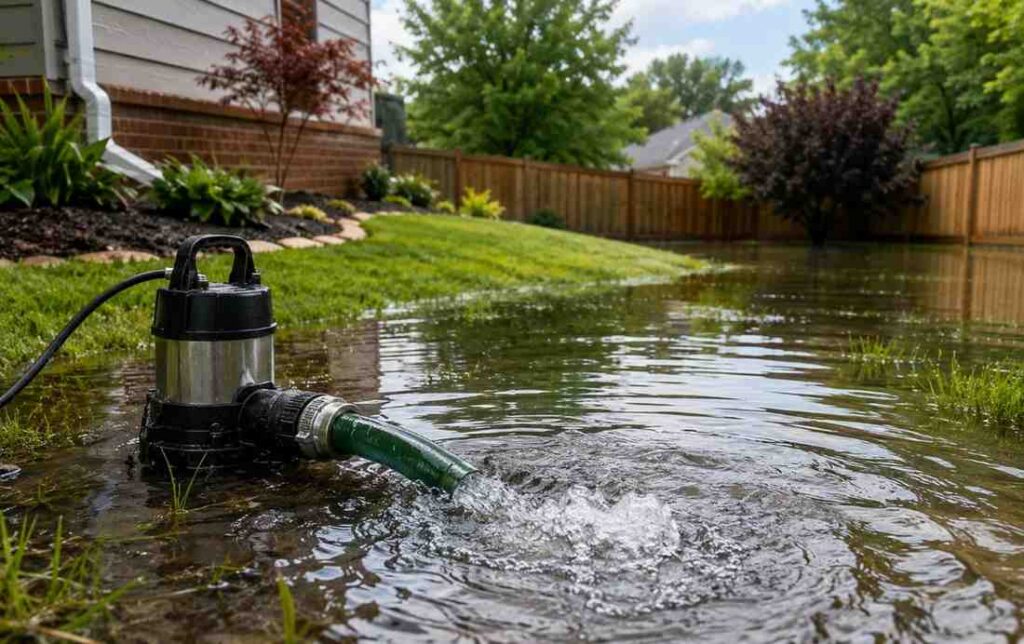
The fastest way to drain a flooded yard is to identify where the water is collecting, remove standing water with a pump if necessary, and install a proper drainage solution such as a French drain, channel drain, or catch basin to redirect excess water away from your property. Long-term improvements like soil grading, surface water drainage systems, and proper stormwater management prevent flooding from happening again. If your yard stays flooded after every heavy rain, it’s a sign that the problem goes beyond temporary puddles and requires a permanent drainage solution. Why Does a Yard Flood So Quickly? A yard floods when rainwater cannot drain or soak into the ground fast enough. Several conditions can contribute to this issue: Poor soil drainage Improper soil grading Heavy clay soil Blocked drainage systems Low spots in the landscape Excessive rainwater runoff Clogged gutters or downspouts High groundwater levels When these problems combine during heavy rainfall, your yard can become a waterlogged yard, making it difficult for water to escape naturally. 8 Fastest Ways to Drain a Flooded Yard Every flooded yard is different, but these solutions provide the quickest results depending on the severity of the problem. 1. Remove Standing Water Immediately If water is pooling near your home, remove it as quickly as possible. Options include: Using a submersible pump Wet vacuum for small areas Buckets for minor flooding Temporary trenches to redirect water safely This helps reduce the risk of lawn damage and protects your home’s foundation while you plan a permanent solution. If flooding is a recurring issue, it is best to request yard drainage service from experienced professionals who can identify the root cause and recommend the most effective drainage system before additional property damage occurs. 2. Install a French Drain A French drain is one of the most effective long-term drainage systems for flooded yards. It consists of: A gravel-filled trench Perforated drainage pipe Proper slope to carry water away French drains collect underground water and redirect it to a safe discharge location, making them ideal for persistent drainage issues. 3. Add a Channel Drain If water frequently collects on patios, driveways, walkways, or pool decks, a channel drain provides rapid surface water drainage. Benefits include: Removes water quickly Prevents slippery surfaces Protects concrete from erosion Works well during heavy storms Channel drains are especially effective in areas with significant water runoff after rain. 4. Improve Soil Grading Sometimes the problem isn’t the amount of rain—it’s the direction the water travels. Proper soil grading ensures water flows away from: Your home’s foundation Sidewalks Outdoor living spaces Landscaping Correct grading is one of the most valuable long-term investments in effective yard drainage. 5. Install Catch Basins Catch basins collect excess surface water before it spreads across your lawn. They work well when: Water pools in one location Downspouts discharge large amounts of water Heavy storms overwhelm existing drainage These systems improve overall stormwater management while reducing standing water. 6. Extend Downspouts Many flooded yards are caused by roof water collecting too close to the house. Extending downspouts helps move rainwater runoff several feet away from your foundation, reducing erosion and flooding. This inexpensive improvement often provides immediate results. 7. Aerate Compacted Soil Over time, soil becomes compacted and absorbs less water. Core aeration creates thousands of small holes that allow water to penetrate deeper into the soil instead of collecting on the surface. This solution works particularly well for lawns with moderate drainage issues. 8. Create Dry Creek Beds Dry creek beds combine drainage with attractive landscaping. Benefits include: Redirect excess water Reduce erosion Improve curb appeal Blend naturally into landscaping They’re especially useful on sloped properties experiencing frequent water runoff. Signs You Need Professional Yard Drainage Some drainage problems cannot be solved with DIY methods. Contact a professional drainage contractor if you notice: Water standing for more than 24 hours Flooding after every storm Soft, muddy lawn year-round Water entering your basement or crawl space Foundation cracks Mold or mildew around your home Dead grass caused by oversaturation Professional inspections often reveal hidden drainage issues that homeowners may overlook. Can Flooded Yards Damage Your Home? Yes. Standing water affects much more than your lawn. Long-term flooding can cause: Foundation settlement Basement leaks Landscape erosion Mold growth Mosquito breeding Damaged plants and trees Cracked driveways Structural moisture problems requiring waterproofing Ignoring drainage issues usually leads to more expensive repairs over time. For a deeper understanding of the long-term financial impact, read our guide on hidden costs of ignoring poor yard drainage. How to Prevent Yard Flooding in the Future? Preventing flooding is much easier than repairing damage. Consider these preventive measures: Install a French drain Maintain gutters regularly Clean drainage pipes Improve lawn grading Extend downspouts Add catch basins Install channel drains Plant deep-rooted vegetation Schedule routine drainage inspections A comprehensive drainage plan provides lasting protection for your property. Why Professional Drainage Solutions Work Better? While temporary fixes may remove standing water, they rarely address the underlying cause. Professional drainage experts evaluate: Soil conditions Property slope Drainage patterns Roof runoff Existing drainage systems Water flow after storms This allows them to design a customized solution that keeps your yard dry throughout the year. Conclusion The fastest way to drain a flooded yard is to remove standing water immediately and install the right drainage system based on your property’s conditions. Solutions such as French drains, channel drains, catch basins, improved soil grading, and proper stormwater management provide lasting protection against future flooding. Acting early not only preserves your lawn but also helps protect your home’s foundation, landscaping, and overall value. If your yard floods repeatedly, consulting an experienced drainage contractor is the most effective way to achieve a permanent solution. Frequently Asked Questions What is the quickest way to remove standing water from a yard? Using a submersible pump is the fastest method for removing large amounts of standing water. Permanent drainage improvements should follow to prevent future flooding. How long should water remain in my yard after